Is Your Sprinkler System Wasting Water (and Money)? Zones That Miss, Hidden Leaks, and Why a Winter Blowout is Non-Negotiable
Introduction: The Hidden Costs of a Faulty Sprinkler System
As homeowners, we love a lush, green lawn that makes our yards the envy of the neighborhood. But what if that vibrant green is coming at a steep price? Your sprinkler system, if not properly maintained, could be wasting hundreds of gallons of water—and dollars—every season. From zones that spray in all the wrong places to leaks you can't even see, these issues add up fast. And don't get us started on what happens when you skip the essential winter blowout. In this post, we'll dive into the common culprits behind water waste in sprinkler systems and share actionable tips from pros who've fixed thousands of these setups. Whether you're a DIY enthusiast or know when to call in the experts, these insights will help you keep your system efficient and your bills in check.
Understanding Sprinkler Zones That Miss the Mark
Sprinkler zones are the backbone of your irrigation system, dividing your yard into sections so each area gets the right amount of water without overlap or neglect. But when zones 'miss,' it means some parts of your lawn are getting drowned while others stay parched. This inefficiency isn't just frustrating—it's a water waster.
Why Zones Miss and How to Spot Them
Over time, factors like soil settling, tree root growth, or even poor initial installation can shift sprinkler heads out of alignment. You might notice brown patches in your yard despite regular watering cycles. Or perhaps one side of the lawn looks like a swamp while the other is bone-dry. These are classic signs of misaligned zones.
To check your zones, start with a simple walkthrough. Turn on each zone one by one and observe the spray patterns. Heads should provide even coverage without spraying onto sidewalks, driveways, or your house's foundation. If you see gaps or overspray, it's time for adjustments.
Practical Fixes for Better Zone Coverage
Adjusting sprinkler heads is often a straightforward DIY task. For pop-up rotors or spray heads, use a flathead screwdriver to tweak the arc and radius settings. Most models have adjustment screws on top—turn clockwise to reduce the spray distance or arc, and counterclockwise to increase it. Aim for overlap between heads to ensure no dry spots, but avoid excessive overlap that leads to runoff.
If your system is older or the layout is complex, consider upgrading to smart controllers. These devices use weather data to adjust watering schedules automatically, preventing overwatering on rainy days. We've seen homeowners cut their water usage by up to 30% just by installing one. And if the zones are hopelessly out of whack due to landscaping changes, a professional audit can remap them for optimal efficiency. Expect to pay $100–$300 for this service, but it'll pay for itself in water savings.
Pro tip: Water early in the morning, between 4–8 a.m., to minimize evaporation. Your zones will work smarter, not harder, delivering moisture deep into the soil where it counts.
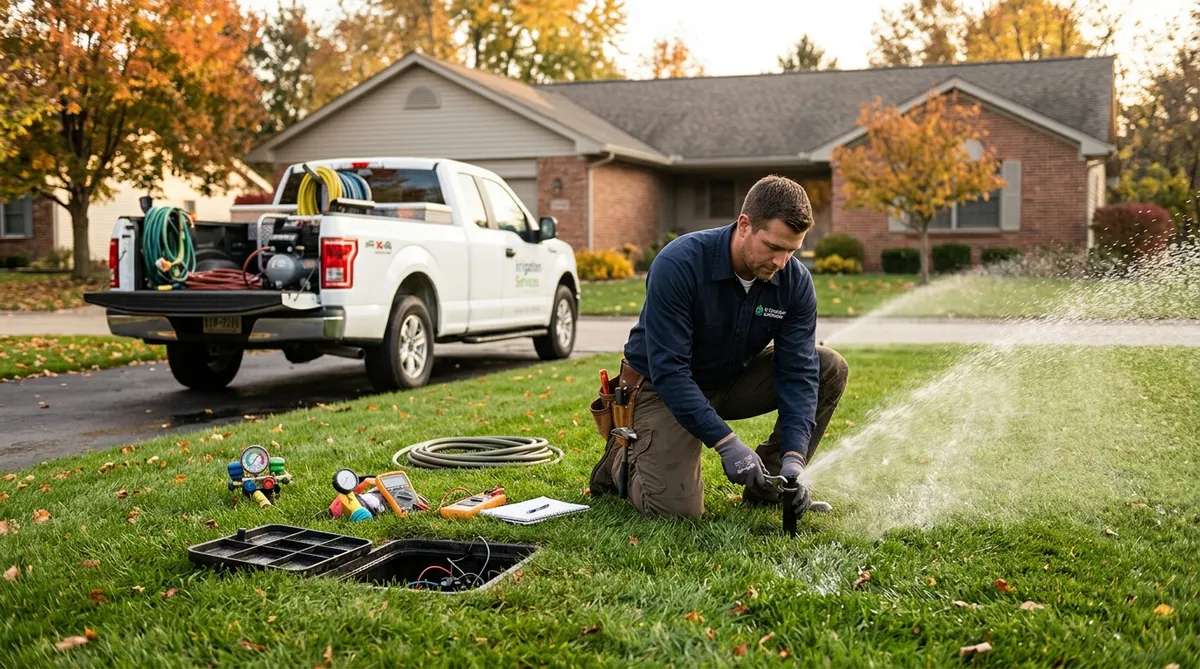
Uncovering Hidden Leaks: The Silent Water Thieves
Leaks are the sneaky villains of sprinkler systems. Unlike a burst pipe that floods your yard dramatically, hidden leaks drip slowly, often underground, siphoning off water without obvious signs. A small leak can waste 5,000 gallons per month— that's like running a hose full blast for hours every day!
Signs of Hidden Leaks You Might Overlook
Look for subtle clues: unusually high water bills, soggy spots in odd places (like under shrubs or near valves), or a constant hissing sound from the ground. If your pressure seems low in certain zones, it could indicate a break in the line pulling water away from the heads.
Underground leaks are especially common in PVC pipes, which can crack from freezing temperatures, ground shifts, or age. Even if your system looks fine above ground, corrosion or poor connections at fittings can cause gradual seepage.
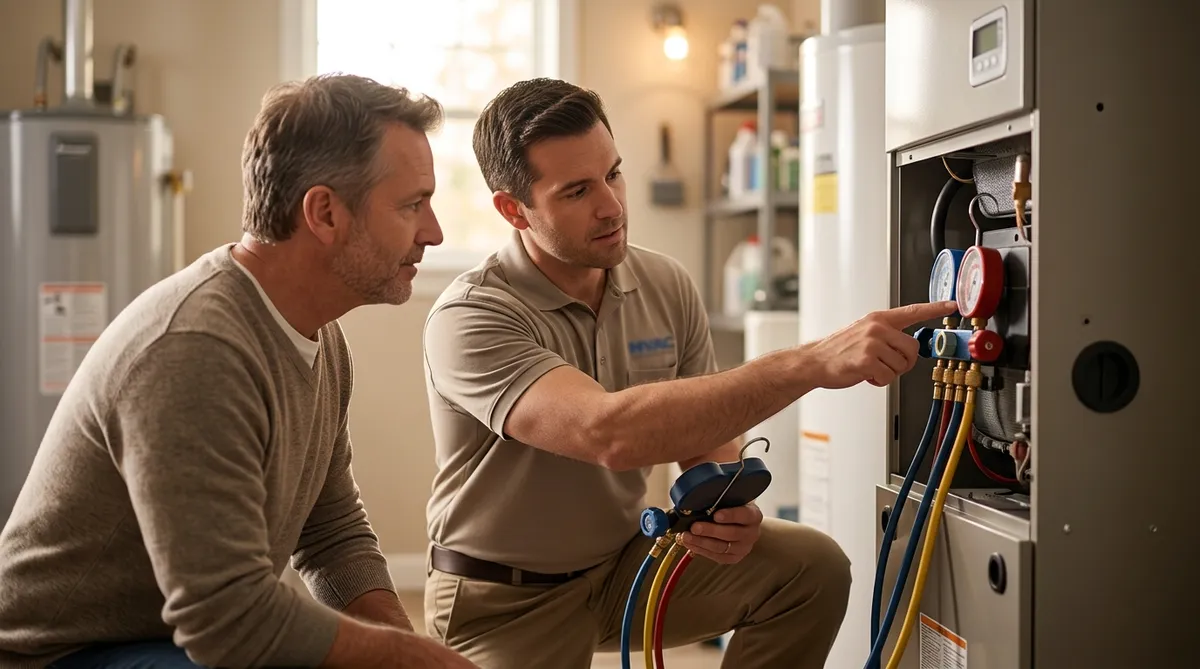
Diagnosing and Repairing Leaks Like a Pro
Start with a pressure test. Attach a gauge to an outdoor faucet and compare readings across zones. Normal residential pressure is 40–80 PSI; drops below that suggest a leak. For a more thorough check, shut off the main water supply and monitor your meter—if it keeps spinning, there's a leak somewhere.
To locate underground issues, use a leak detection kit or call a pro with acoustic tools that listen for water flow. Once found, repairs vary: A simple fitting replacement might cost $50 in parts, while digging up and replacing a section of pipe could run $200–$500, depending on depth and location.
Prevention is key. Inspect visible components annually, tighten connections, and replace worn seals. If you're in an area with hard water, mineral buildup can weaken pipes—consider a water softener for long-term protection. By catching leaks early, you'll not only save water but also prevent erosion and foundation damage from saturated soil.
The Winter Blowout: Why It's Essential for System Longevity
Ah, the winter blowout—a task many homeowners dread but contractors insist is non-negotiable. This process involves using compressed air to clear water from your sprinkler lines before the first freeze. Skip it, and you risk cracked pipes, burst valves, and a soggy spring surprise.
What Happens Without a Proper Blowout
When water freezes inside pipes, it expands by about 9%, exerting enough force to split even sturdy PVC. A single crack can lead to major leaks come thaw time, turning your irrigation system into an expensive headache. We've responded to countless emergency calls in early spring for systems that weren't winterized, with repair bills easily hitting $1,000 or more.
In colder climates, this isn't optional—it's survival for your setup. Even in milder areas, residual moisture can cause corrosion over time.
Step-by-Step Guide to a Safe Winter Blowout

If you're handy, you can DIY a blowout with an air compressor (at least 90 PSI, but not exceeding 80 PSI on the system to avoid damage). First, shut off the water supply and drain the backflow preventer. Then, connect the compressor to the blowout port (usually at the zone valves) and run each zone for 1–2 minutes, starting from the farthest head.
Work methodically: Set the timer to the shortest cycle and blow out zones in reverse order from the main line to ensure all water is pushed out. Wear safety glasses—air pressure can send debris flying. Once done, cap the ports and store controllers indoors.
For most folks, hiring a pro is wiser, especially for larger systems. It takes about an hour and costs $100–$200, a small price for peace of mind. Schedule it in late fall, after the last watering but before temps drop below freezing.
Bonus advice: Insulate exposed pipes and use frost-proof hose bibs to safeguard the whole outdoor plumbing. Come spring, a quick test run will confirm everything's ready to go.
Maximizing Efficiency: Additional Pro Tips for Your Sprinkler System
Beyond fixing zones, leaks, and winter prep, a few tweaks can supercharge your system's performance. Audit your soil type—clay holds water longer than sandy soil, so adjust run times accordingly (e.g., 10–15 minutes for clay, 20–30 for sand). Mulch around plants to retain moisture and reduce evaporation.
Consider drought-resistant grass varieties or xeriscaping in dry regions to cut watering needs by half. Smart sensors that detect soil moisture can automate this further, ensuring you only water when necessary.
Regular maintenance pays dividends: Clean heads seasonally to remove debris, and calibrate your controller based on evapotranspiration rates (ET) from local weather stations. Tools like Rain Bird or Hunter apps make this easy.
Wrapping Up: Invest in Your System for a Greener, Leaner Future
Your sprinkler system doesn't have to be a money pit. By addressing misfiring zones, hunting down hidden leaks, and committing to that crucial winter blowout, you'll conserve water, lower bills, and keep your landscape thriving. These aren't just tips—they're lessons from the trenches, shared by contractors who've seen it all. Take a weekend to inspect your setup, and you'll be amazed at the difference. A well-maintained system isn't just efficient; it's a smart investment in your home's curb appeal and value.